How to move Windows boot drives to another PC
Perhaps, in wake of all the recent shortages, you somehow did manage to build your own high-end gaming PC, and now you want to copy across your old boot drive without too much hassle, huh? Good on you, first of all.
Secondly, we understand how much stress it can be once your new techno-beastie finally takes shape, and then you've got to spend hours redownloading, reinstalling, and perfecting the settings of the masses of software you're used to having at your fingertips.
With your hundred-dollar software suite (Adobe, I’m looking at you), massive Steam library, obscure utilities, desktop doodads, and other ephemera woven into your age-old boot drive tapestry, that can take a few days and plenty of frustration to get together again.
Luckily, there is a way to swap Windows installs between systems without too much faff.
Sysprep to the rescue
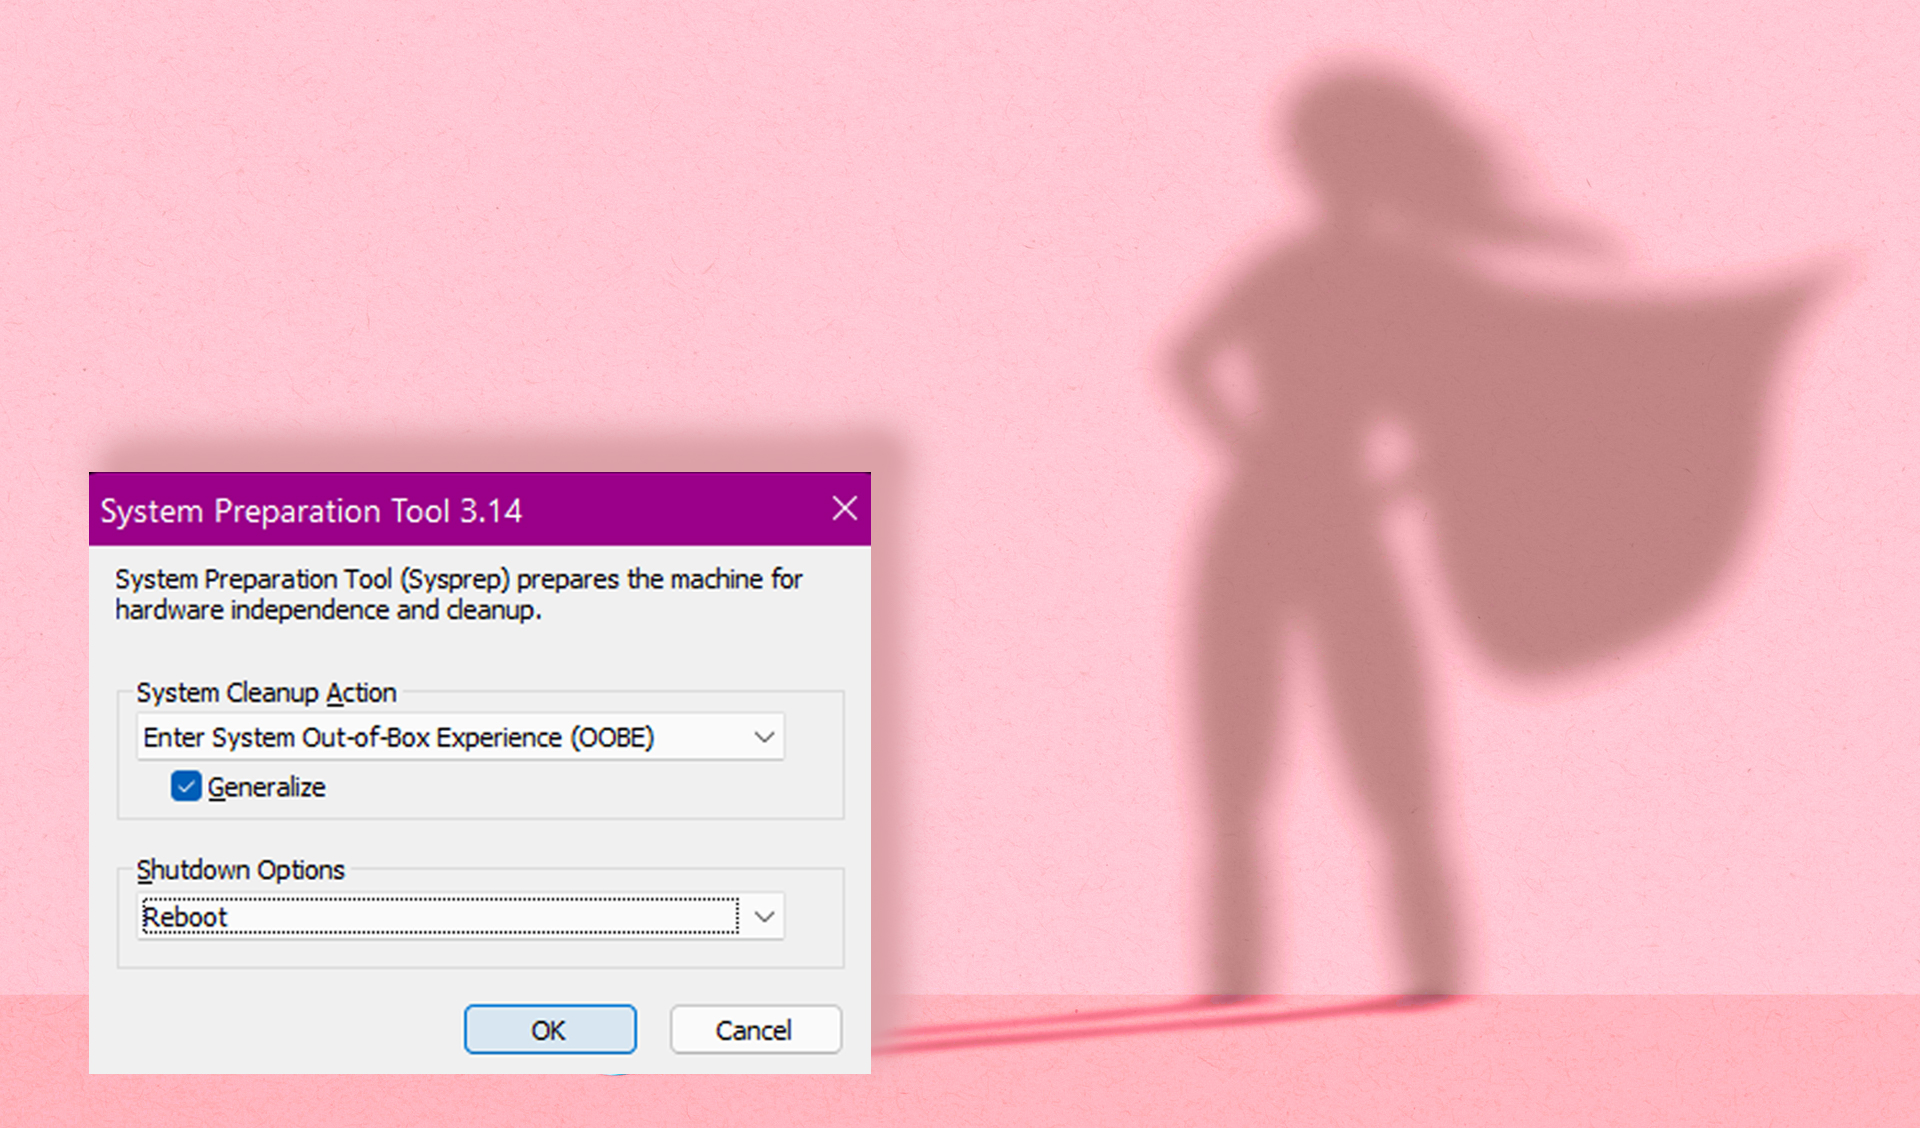
Microsoft includes a command line utility for just such an occasion. It's known as Sysprep.exe, and it only strips away some customisations from a full Windows installation, allowing painless movement between hardware platforms. It's been around since the Windows NT days, and it works on all modern Windows PCs including Windows 11.
Originally designed for large-scale hardware deployments in the IT world, the command removes the name of the PC and resets a few other internal Windows settings so moving that carefully compiled hard drive takes just a fraction of the full rebuild time. Applications, data files, and other configuration data are retained. Lost are stored passwords, browser settings, and possibly Windows activation, so keep this information and any keys or other Microsoft information handy. They may be needed later.
Windows activation keys can be retrieved from physical product packaging (you kept this, right?), a label on chassis of the PC itself or with utilities that extract them, such as Magical Jelly Bean. Windows 11, with its digital activation, should handle this automatically via Microsoft’s servers but upgrades can cause issues.
Significant hardware changes, such as motherboard replacement, might require a call to Microsoft’s activation hotline to resolve. Microsoft advises that if you're running Windows 10 or 11, and added your Microsoft account by linking it to the digital license on your device, you can use the Activation troubleshooter to reactivate Windows.
Preparing for the swap
Clean up your drives, and download the latest drivers for any hardware on your new system. Decompress these, but don’t run them. You’ll be using those after booting up post drive swap on your new hardware.
Stick to saving them in a simple folder location, such as C:\Temp, for drivers, and label everything clearly in subfolders, as decompressed packages tend to have obscure default names. Downloading these files ahead of time and sorting them out simplifies post-boot setup considerably.
Running Sysprep.exe doesn’t create a backup or system image. Perform a full backup first.
Note that running Sysprep.exe doesn’t create a backup or system image, so before playing around with moving drives or swappable images, perform a full backup. Microsoft only supports Sysprep.exe usage in IT environments, so don’t expect help outside of internet advice forums if things go wrong. Backing up the system registry separately isn’t a bad idea either, as this may provide a quicker fix than a full system restore should things go awry.
Command line
Once the drive is ready for transfer, open the Start menu and type cmd. Right-click on cmd.exe when it appears at the top of the list and select Run as Administrator to bring up a command line with full administrative access. Click Ok on the User Account Control dialog box if it appears.
From the command line, you have two ways to proceed. Either manually change directories by typing cd \Windows\System32\Sysprep, pressing enter, then typing sysprep and press enter again; or you can issue the global %windir%\System32\Sysprep\Sysprep.exe directly.
Either way, you'll soon be greeted by the System Preparation Tool. Use Sysprep.exe /h for a list of options and syntax if you’re hardcore and prefer sticking with command lines and keyboards.
Sysprep in a suit
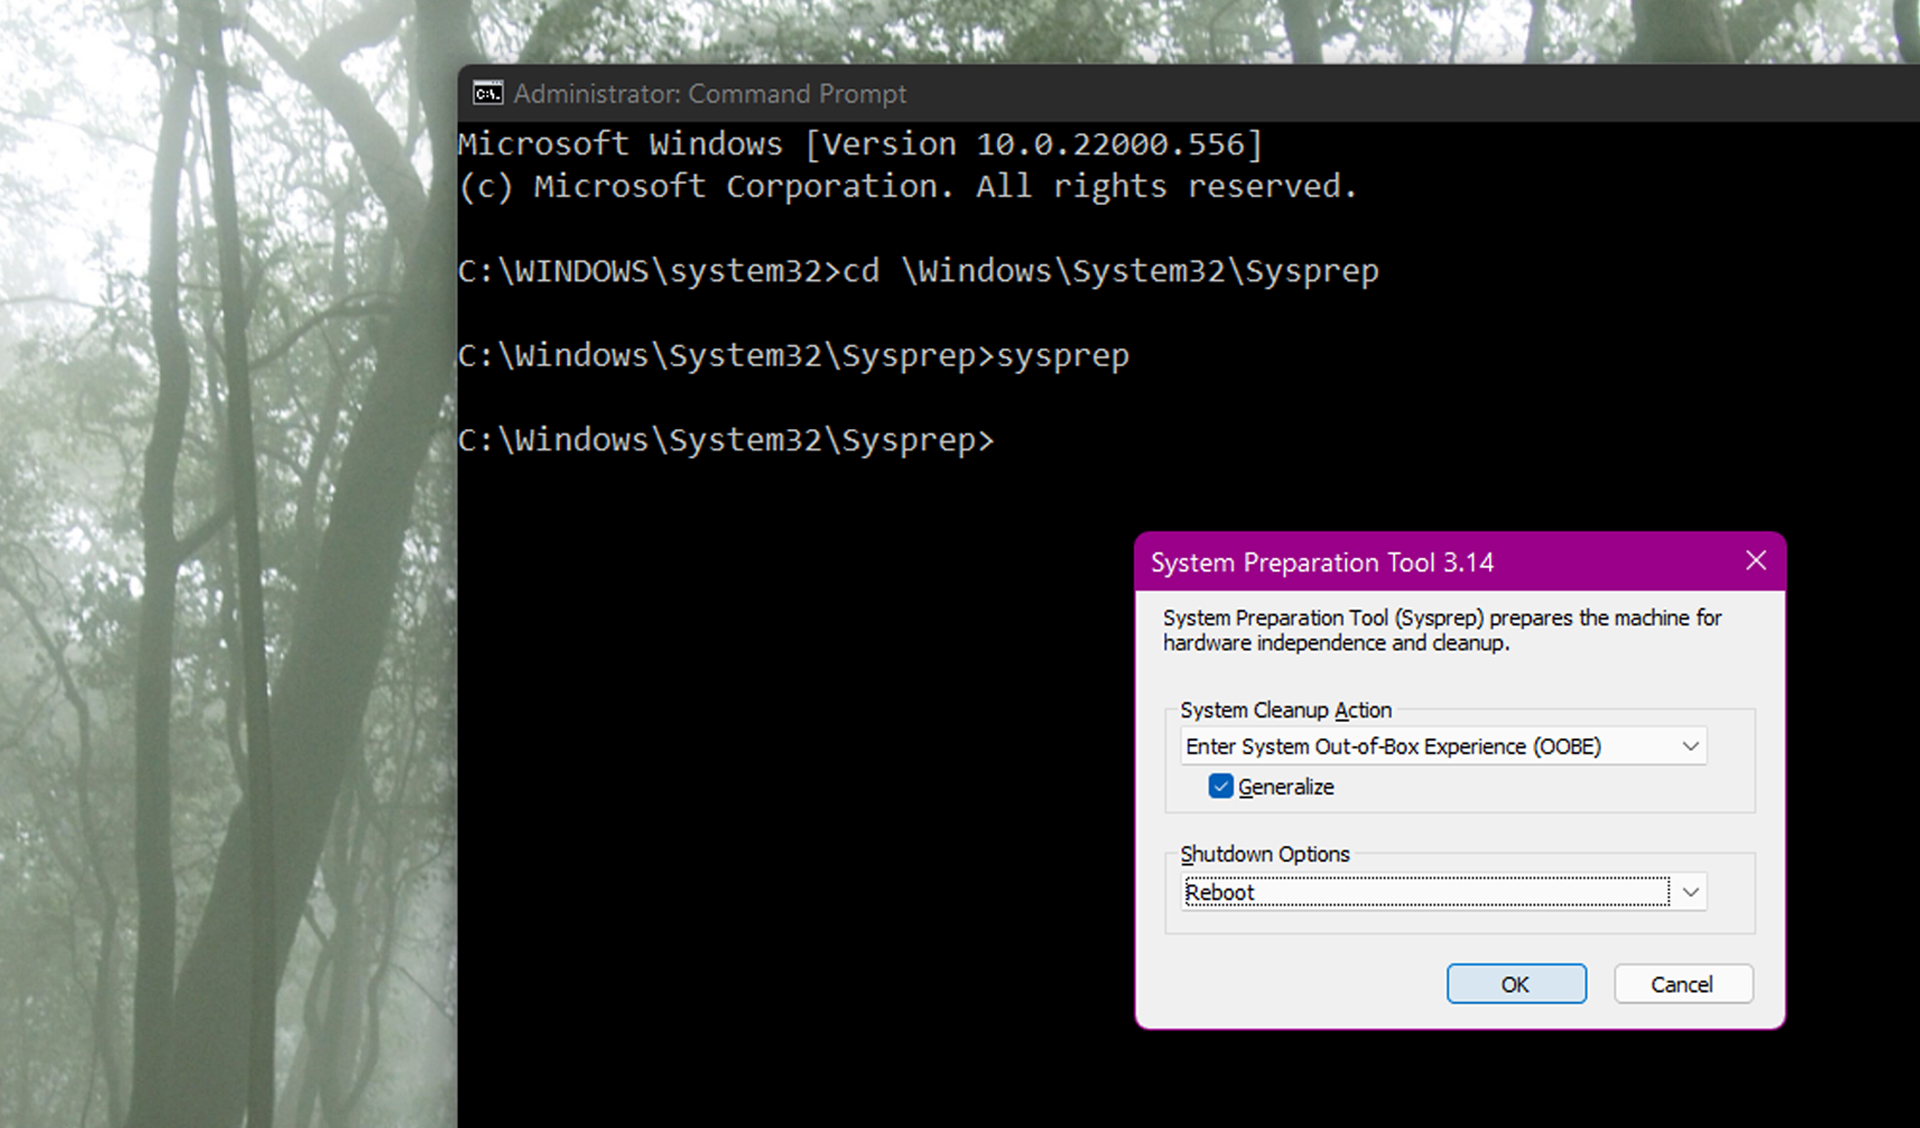
There aren’t many options here, but operation is subtler than it appears. First select the Generalize checkbox; this clears the system name and hardware configuration. Next, select Enter System Out-of-Box Experience from the drop-down menu. This will boot the system into Windows Welcome mode at the next start-up and initiate a plug-and-play hardware scan.
Lastly, select Shutdown from Shutdown options. The system will configure itself and turn off, ready for drive transfer or imaging. Note that after Sysprep.exe options are selected and the system shuts down, restarting it again on the original computer will initiate the configuration process, so swap your boot drive over to your new machine first.
Reboot rejuvenation
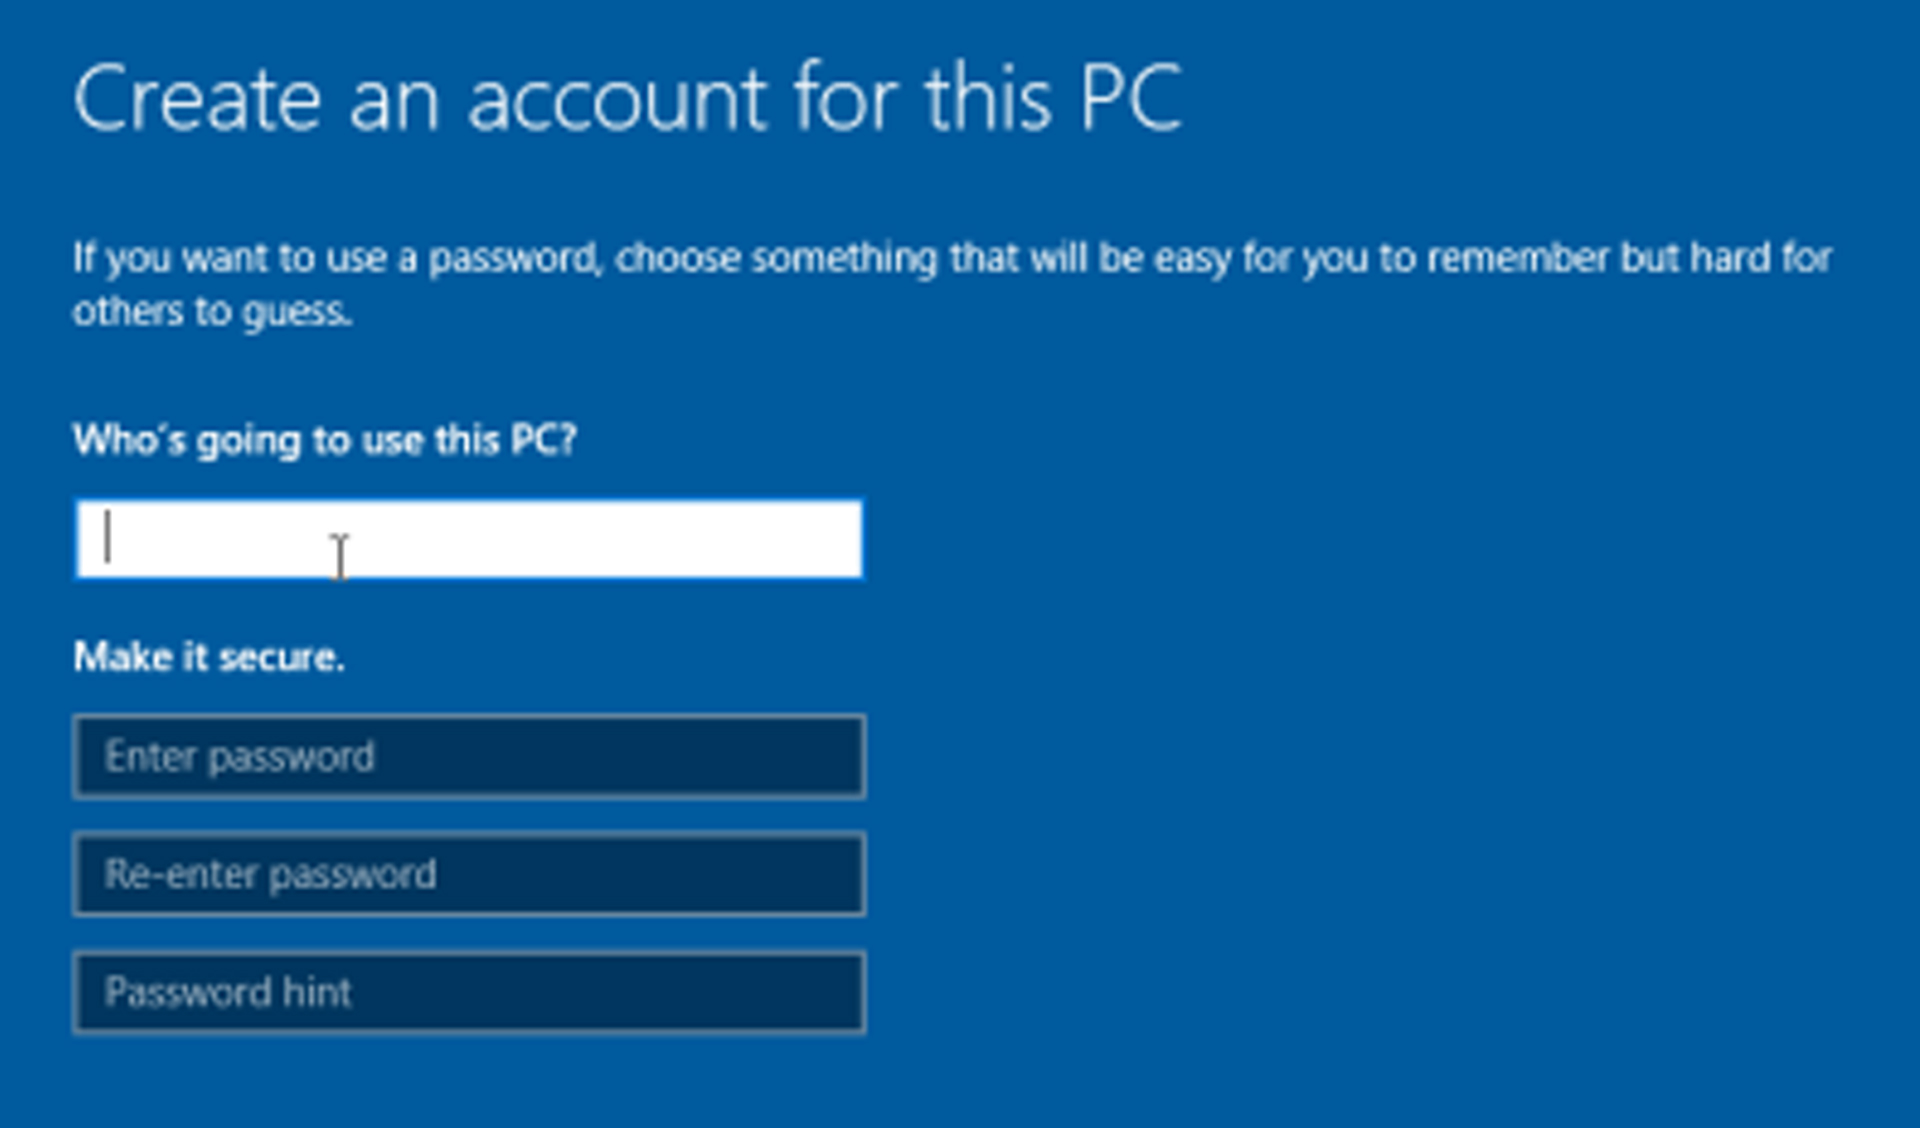
When you turn on with the boot drive plugged into the new machine, it should enter Welcome mode. It looks like a fresh Windows installation, and you’ll need to create a fresh username on the Your Account screen, or you’ll get a duplicate user name error. Don’t worry, your original account is still intact. All you need to do is log out of your new account, and back to your original one, once the configuration process is complete.
Once initial customization is finished expect a delay while Windows adjusts itself to the new hardware environment before delivering you to the desktop. From here, setup is a snap. Install any drivers or other updates required for new hardware from the folder prepared earlier, and your new rig is ready to roll, with all your old software and customizations intact. Pretty slick.
Troubleshooting upgrade installations
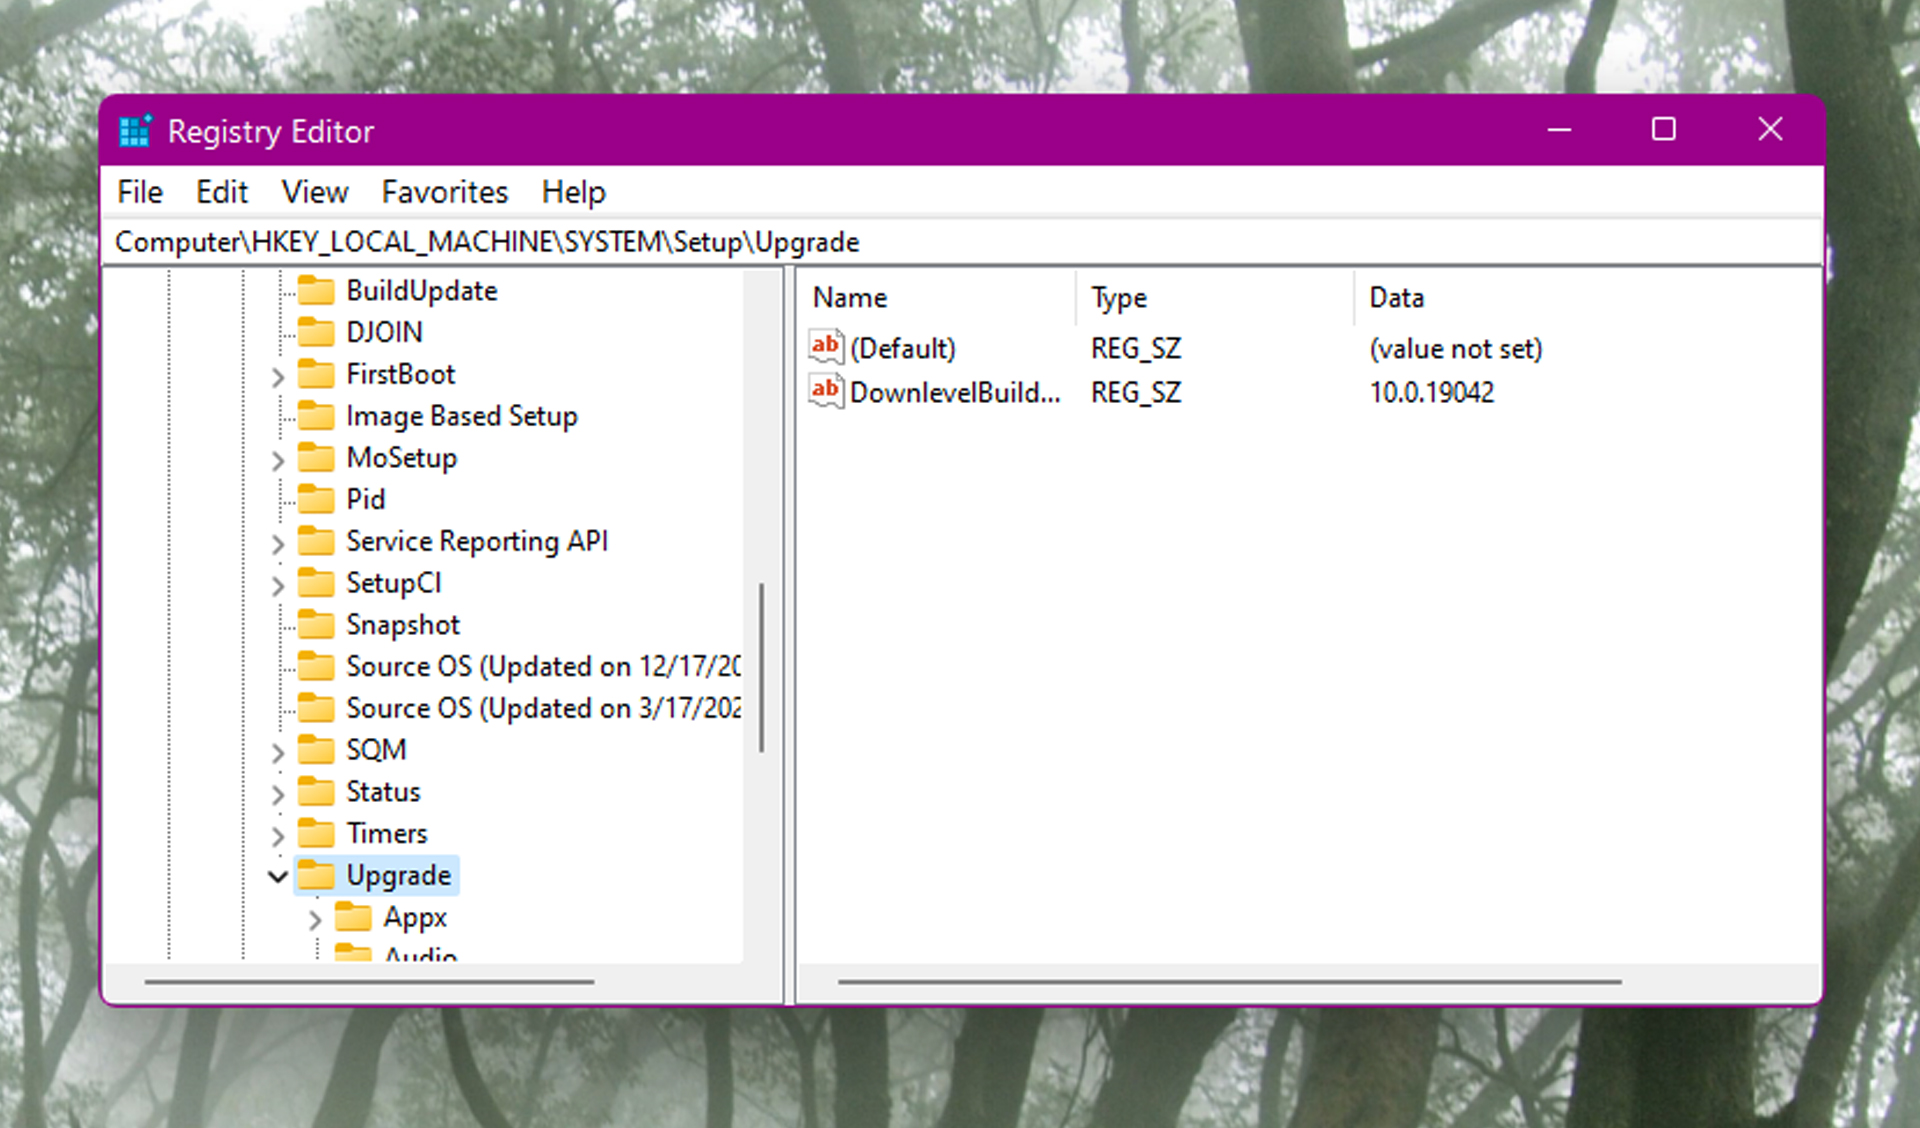
While Sysprep is super handy, there are a few drawbacks and limitations. Sysprep only works three times on non-authenticated systems; you can’t reset the trial period indefinitely. Also, if you’re running an upgrade installation from a previous version of Windows without a clean install, for example Win10 installed over 8.1, you may run into error messages. Fortunately, there is a workaround that involves a simple registry edit.
Keep a clean backup of the registry handy, open Regedit from the Start Menu, find the HKLM\SYSTEM\Setup\Upgrade entry, and remove it. Next, navigate to HKLM\SYSTEM\Setup\Status\SysprepStatus\CleanupState and change the Hex value to 7.
Finally, open an administrative access level command prompt again, and type slmgr /dli after which Sysprep should operate normally.